


Painting diorama - how to create a realistic effect?
Making a diorama is a challenging task. From the idea, through gathering essential resources, to making the diorama itself and finishing the project - each of these steps require a lot of work. It’s not a surprise then, that dioramas are often the subjects of various modeling competitions, etc. Fulfilling such a task is rewarding even without any gratification, but because a complete diorama is an awe-inspiring sight, it’s completely understandable that some are ready to reward the effort put into bringing it to life.
If you ever wondered about making one by yourself (or maybe you’re currently making one and looking for some sort of inspiration), we gladly invite you to stay with us for the rest of this article. Here - at Kromlech - we know a thing or two about modeling and we’ll share it with pleasure. Let’s focus on one of the many steps on the way to finishing your diorama. How to paint it to look realistic and - in effect - make all the time spent on modeling, gluing, and cutting worth it?
Gathering essential materials for diorama painting
There are two ways of painting a diorama, and the one you should go with highly depends on the kind of diorama you intend to make. You can either paint all the parts of the diorama separately, and then attach them all, or you can paint your whole work when it’ll be completely assembled.
It’s up to you and your vision, which way you go. It’s good to remember that there is always a possibility of mixing these two approaches - you can paint some diorama elements separately (for example, miniatures), and the rest (trees, hills, ruins, etc.) when they'll be glued together.

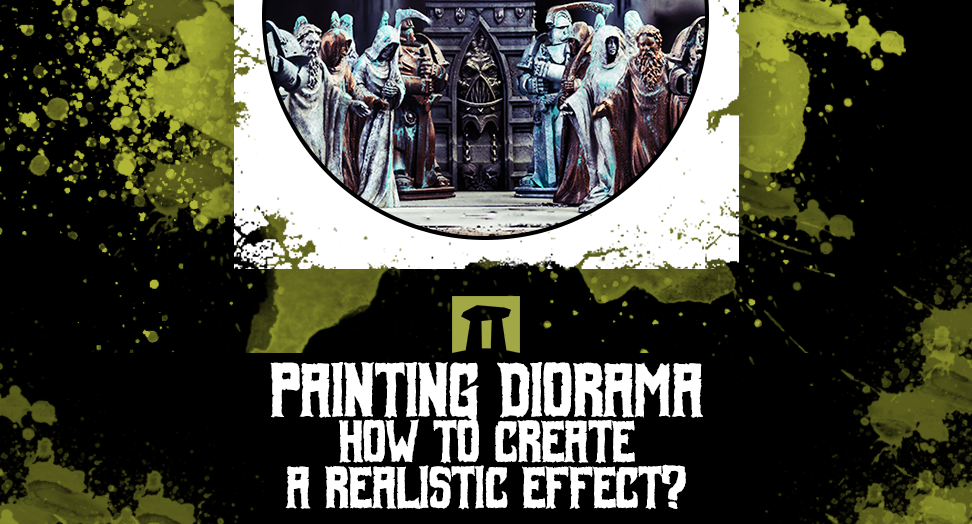
Diorama can take many forms. It can be an action frozen in a particular moment…
Speaking of glue, it’s another thing that seems essential when it comes to assembling a diorama, but - in reality - not necessarily. It’s especially true when you decide to go with painting elements of your work separately. If so, think in advance about a solution other than gluing, because you might find yourself in a blind spot when you pour some glue on already painted miniatures. Consider several options before you start your work - magnets can be a really useful tool in such a case.
Preparing the diorama base for painting
The base is a vital part of the diorama, both in terms of apparition, and creative process. It’s completely natural that in nine out of ten instances, it’ll require drastically different finishing than the rest of your work.
The majority of dioramas’ bases won’t probably need any painting except priming. The base will be finished with the use of such materials as static grass, clump foliage, basing sands, cork scatter, and rocks. The order in which you’ll be making your diorama is vital, especially in this case - it’s good to plan it properly, so the base can be finished after you paint everything you need, so there is no risk of staining it with paint. If - for any reason - you won’t be able to plan your work that way, be sure to protect the elements you don’t want to get dirty from the paint.
Establishing a color palette for diorama painting
If it doesn’t stand opposite to your idea, it’s always a nice touch when the diorama has the colors matching each other. It isn’t equal to painting the whole diorama with one color. You can still use a variety of them, but be cautious when adding any new color to your palette - especially if it's visibly different from the rest.
Creating realistic terrain and landscapes in dioramas
Two things have a major impact on making the terrain that creates your diorama feel “alive.” The first one is the way you shape this terrain from all the materials you gathered - it’s good to remember that in the majority of instances, the surroundings on your diorama shouldn’t be too flat or too symmetric because it doesn’t look believable.
The second thing with a crucial influence on the realistic feeling of your terrain is the way you paint it. Don’t forget to be consistent, and once you characteristically paint something, try to move it onto the rest of the elements as well. Sometimes it isn’t about the level of your painting skill but rather about staying true to one significant style or climate to create a great immersion with your diorama.
Painting architectural elements in dioramas
Painting architectural elements is pretty straightforward because we all share a common knowledge about how buildings with certain purposes should look like. For example, a military structure will be rather in dark, earthly colors, but a building designed to host religious events will have rich ornaments. If you’re not sure if the building’s destiny will be noticeable just because of its shape, try to paint it most classically, so the viewers can identify it at the very first sight.
Detailing miniatures and figures in dioramas
Miniatures present in your diorama should feel like they’re integral elements. It means that whatever style of environment you choose - whether it’ll be a forest covered in snow or a more futuristic climate like the deck of a spaceship - the miniatures should 100% fit it. You need to take special care when applying such painting effects like lighting, etc. What goes on the terrain must go on the miniatures as well.
Weathering and aging effects in diorama painting
The impact that weathering can have on giving your diorama a realistic look cannot be overpriced. Nowadays - thanks to such comfortable solutions as Dirty Down Paints - it isn’t complicated at all. Check all the effects paints - Rust Effect, Yellow Rust Effect, Moss Effect, and Verdigris Effect yourself. After one test, you’ll know how to use them, and you’ll be able to do so to improve your rising diorama. But remember to do it wisely - even the best-looking effects can look poorly when overused.
Enhancing realism with lighting and effects in dioramas
If you look for even more ways to improve your diorama with paints, check out the technique called Object Source Lightning. The effect you can achieve with this technique is impressive, but remember that using it requires the possession of a certain set of modeling skills. Before you try to use it on your almost-finished diorama, do several tests on different models to make sure you’ll be satisfied with the effects.
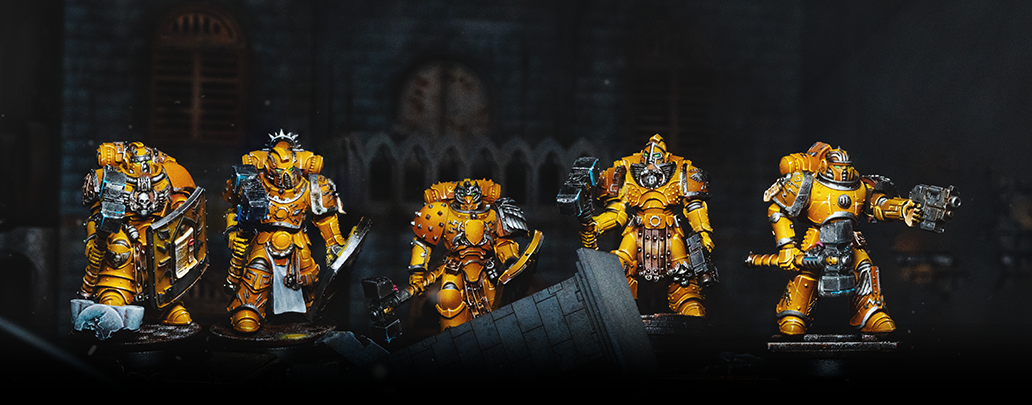
…or a static scene perfect for displaying a squad of miniatures.
Because our hobby is wide and still growing, you can find out even more paint techniques that can grant you awe-inspiring effects. Remember that the golden rule is always the same - if you intend on using some technique on a project that is important to you, better make several tests at first. The technique that was inappropriately used can only make matters worse, not better.
Finishing touches and display for painted dioramas
When finishing your diorama, don’t forget about small details. Sometimes it may happen that some spaces on your diorama will seem a bit empty. You can always fill them with small bits, such as abandoned guns, swords, etc. If you need those in a noticeable quantity, you can always check our printable files at Kromlech 3D Workshop - they’ll allow you to get the required parts exclusively, in the quantity you wish.
As for the painting, be sure to protect the effects of your work by using some lacquer on your finished diorama to avoid scratches and paint chips. After doing so, you’ll be ready to show the effects of your work to the world. Don’t forget that at the very first approach you might not be completely satisfied with your diorama. Nonetheless, don’t give up, as practice makes perfect.