


How to build Terrain from scratch?
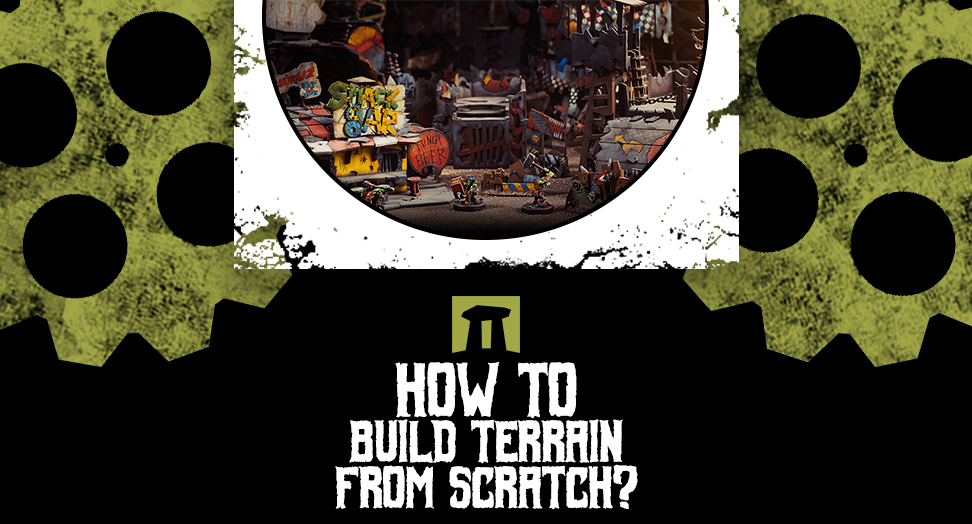
It isn’t a mystery that Kromlech stands (mostly) for Orcs. As a company that produces everything that is wargaming-driven, we “spin round” that subject all the time. If we combine these two facts, the title of this article will become more understandable. After all, what kind of wargaming terrain is more suitable on a table full of Greenskins than big piles of junk, ruins of once-huge buildings, and devastated remnants of wildlife? Because all of that is the terrain everybody can make from scratch!
Creating Terrain from scratch: essential materials and methods
Understandably, the subject of how to build terrain for Warhammer 40k can be much more sophisticated than what we’ll discuss here. When we intend to make something in a specific style or climate, we must prepare ourselves for a big challenge - especially if we want to prepare plenty of such things, like in the case of Necromunda Terrain.
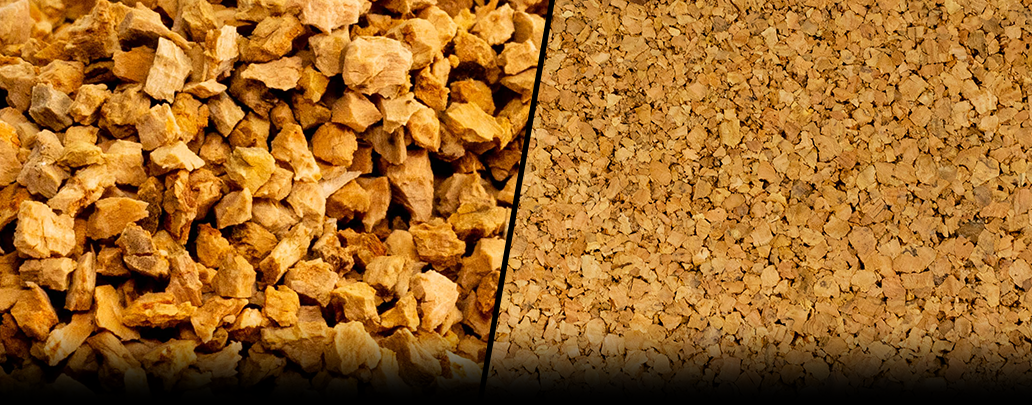
Here, we’ll focus on a more universal type of terrain building that can be used to make something Warhammer-driven, but not exclusively. So, how to build miniature terrain? It’s always good to begin with gathering the required materials. Any modeling-dedicated accessories (do not confuse them with gaming accessories - the ones that are used later during the games), such as basing sands, static grass, cork scatter, plasticard, weathering powders, and turf & foliage, are a perfect choice but it's possible to make something without them. There is always a possibility of gathering more “natural” resources that everyone has plenty of within the range of his grasp. What we have in mind here are rocks, sticks, strings, small chains, etc. After a bit of cleaning, with the help of glue and a hobby knife, almost everything can be used during the modeling process!
What we also need to remember is that all of these stated above serve only as materials to improve or finish our creation. We’re still in need of something to begin with. We require some kind of “core” to paint, convert, and transform into our piece of terrain. Such a thing can be the remnants of our models - unused or broken bits, pieces of bigger models, and even molded parts destined for utilization. A wise modeler thinks twice before he throws away any chunk of his model!
Building Terrain from scratch: a step-by-step guide for hobbyists
Let's start with a base. It doesn’t have to be a dedicated, previously bought one. In some instances, getting a huge base (for an equally huge pile of Orcish junk, for example) would be almost impossible. That’s why we recommend giving the plasticard a try. This material can be used for many different things, and making a proportional, irregular base for a piece of terrain is one of such things.
When you'll have the base, you'll be able to move on to the next step. Remember that such a base doesn’t need (or even shouldn’t be) perfectly regular. After all, in real life, not many things are like that.
During the next step, your so-far-creation needs to be covered with some materials. Staying in the Orcish junkyard theme, we propose filling it with all the unused bits you can find. From our experience, we can tell that parts of the vehicles’ models will fit here perfectly. As with the base, it’s good to remember that to make such terrain as realistic as possible, it cannot be regular or “clean” in any matter. The one rule you should obey, however, is the rule of gravity - even the Orcish pile of junk needs to be stacked up “naturally” so it wouldn’t fall apart instantly.
You never know which everyday materials can be useful when building the terrain for wargames.
During that stage of your wargaming terrain building, you’ll need plenty of glue. Don’t hesitate to pour it richly when it’s needed, so your rising scenery sticks together even if moved. When you make sure that this task is fulfilled correctly, you can move on to painting.
If you think that to paint your almost-finished terrain, you’ll need to sacrifice several hours, worry no more. Don’t forget that you’re making a pile of junk! Choose a dark, brownish color as the base coat and spray it all over your creation. When you successfully cover all the irregular spaces of your pile with a chosen paint, grab a paintbrush. Thanks to a bit of silver color and a dry-brush technique, in several minutes you’ll have a good-looking, believable, and tabletop-acceptable piece of scenery. Of course, it might happen that you won’t be entirely satisfied with the results of the first try. Nonetheless, remember that some things require practice, and there is always room for another terrain to make.
Mastering Terrain construction: pro tips and tricks for miniature gaming
Building miniature terrain is a vast subject, and during your hobbyist career, you’ll see many different manuals on how to do it. The list of tips and tricks is almost infinite, and it’s rather unnecessary to mention all of them as they’re highly dependable on the kind of terrain you wish to make. Among the numerous Warhammer 40k terrain building tips, there is one worth underlining. That rule is to gain inspiration directly from the core. If you’re a fan of this universe, you must have seen plenty of artwork, screenshots from games, etc. It’s always easier to construct something when you can make references.
One more thing at the very end. Miniature terrain building is one thing, but handling what you have done is another (no less crucial) thing. To not destroy or even damage the effects of your hard work, we offer you a look at the must-have wargaming accessories.