


How to assemble miniatures - step-by-step guide
It's common knowledge that wargaming is a vast hobby. The number of activities connected to this term is imposing - collecting, painting, modeling, converting, and playing are the major ones, but they don’t shut down the list of possibilities. One more thing cannot be skipped when it comes to wargaming, but is overlooked notoriously. What we have in mind is assembling miniatures.
Usually, the question “How to assemble miniatures?” can be answered in a pretty straightforward fashion. However, sometimes it might be a bit more sophisticated. Not to mention some crucial differences between assembling resin, plastic, and metal miniatures. Truly, specific instances can make you think about the assembly process, like about an art. It certainly possesses elements qualifying it to such a term.
Although the material from which the models are made is a differentiating point, there is one significant thing you don’t have to look for when starting with assembly. Remember that no matter which producer made certain wargaming pieces, all of them can be (and should be) assembled the same way - it doesn’t matter if you’re assembling Warhammer miniatures or those from any other system.
Getting started with miniature assembly: tools and techniques
To assemble miniatures at home, you’ll need several things. If you ask yourself a question: “How long does it take to assemble miniatures (40k, Fantasy Battle, or else)?”, worry not - with the right preparation, the whole process shouldn’t be long. The fact that it's highly dependable on the quantity and size of miniatures you wish to assemble is worth underlining. Remember, that for any bigger model, there should always be an assembly instruction. If it wasn’t added to the set, there is a good chance it’s available as a downloadable file on the producer's site. After all, some huge models might be impossible to assemble correctly without instruction.
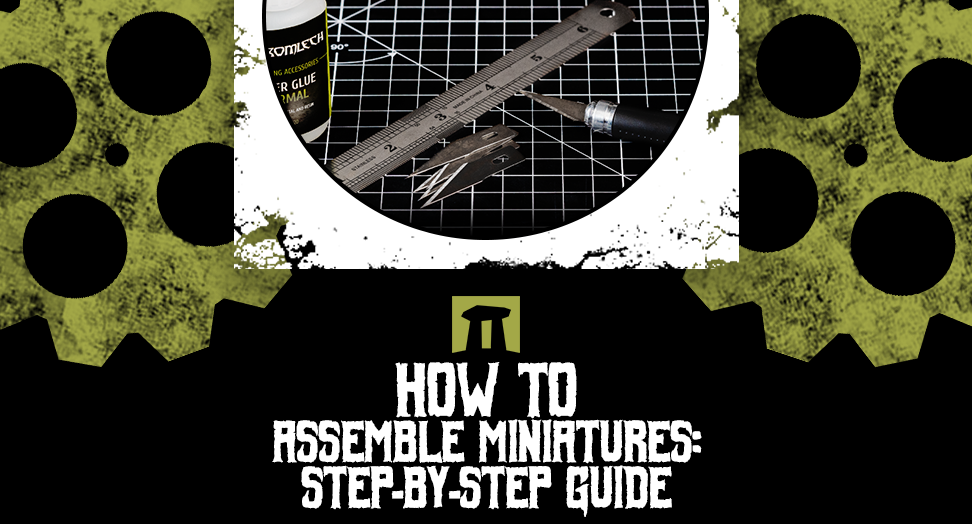
Other things you’ll need are such essentials as a hobby knife, glue, and a cutting mat. All those things are available in our modeling and basing category - browse if you require them.
The identical rules for assembling all - resin, plastic, and metal miniatures are the following:
- don’t haste - when cutting and gluing, it’s crucial to not be in a hurry. Doing things at a slower pace can, paradoxically, get you faster to the finish (not to mention keeping you and your miniatures safe);
- make dry tests - although sets offered by different wargaming producers are becoming better and better each consecutive year, it’s still a common thing that some of their elements might not fit well with others (sometimes it can happen because of cutting off too much or cutting not enough of a model). That’s why it’s always a good idea to check if the parts fit before you glue them. It can save you a lot of stress when something doesn’t fit on the first try.
- be precise - during assembly, it’s a crucial thing to put in only as much effort as needed. It means that you should always put a reasonable amount of glue where it’s needed (not too much, but not too less as well) and cut off only those parts that are not needed. In case you're not sure, check first!
Beginner's guide: how to assemble miniatures from start to finish
When assembling Warhammer miniatures (or any other), stick to the instructions, and everything will be fine. If you haven't any instructions or the miniature is so tiny that it doesn’t need one, start with washing all the elements with soap in tap water (only if they’re resin), allow them to dry, and begin gluing large parts and then smaller ones, such as accessories, extras, etc. Be careful not to put any elements in the spaces designed for arms and legs. They should be visible, but some extra care won’t be harmful, so examine the miniature before you start assembling it in search of concave, smooth, spherical spaces.
Usually, when you’ll be assembling your models, you should have suitable bases for them included in the set. Sometimes, it may happen that the miniatures will be sold without them. In such a case, go to our Bases category, where you’ll find plenty of them in various shapes and sizes.
If you require some advice on finishing such bases, read other articles available on our Blog. For example, the one dedicated entirely to the subject of miniature bases.
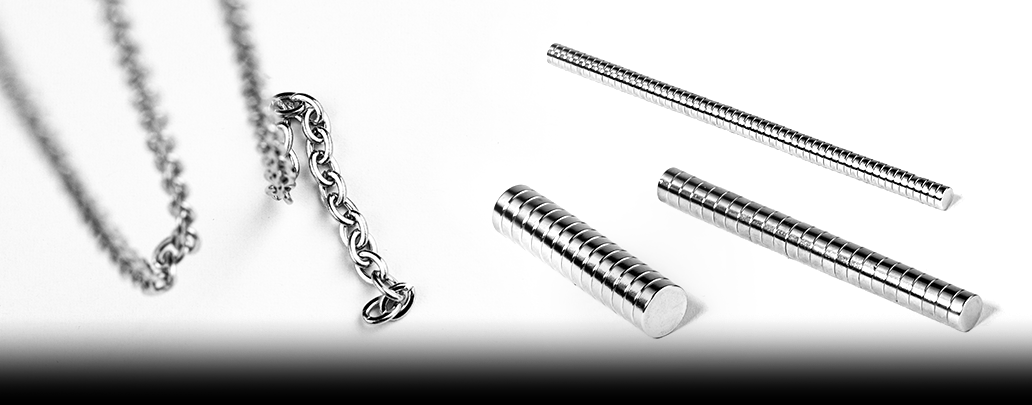
When assembling your miniatures, don’t forget about such accessories as magnets - you don't necessarily need to glue all the elements!
Step-by-step guide: how to assemble miniatures like a pro
If you wish to assemble miniatures like a pro, you need to be prepared to afford some extra accessories, and we don’t have in mind any gaming accessories. What you’ll need are some things like tweezers, magnets, and a glue accelerator. All of this does not necessarily open you to any new techniques but allows you to be more versatile and bring your assembling to the next level.
When you get some experience in assembling miniatures, you’ll find out that the magnets are a great solution. At first, they may seem like an extra, which requires plenty of work. Nonetheless, once you make your first swappable weaponry on a tank, you’ll see that this trick allows you to save some money and space. It also makes all alternative parts of your model usable.
Mastering miniature assembly: essential techniques and tricks
Remember that the best way to check if you’re the master in assembling miniatures is to glue together metal models. Because of their weight, they’re probably the most difficult to handle - some parts may fall off even after a significant portion of glue and several minutes of pressing them to each other.
When handling metal models, a bit of reflex is needed. You must fit the parts together quickly and then hold them tight for quite a time. In such cases, the already mentioned glue accelerator becomes much more than an optional accessory - it becomes an essential!